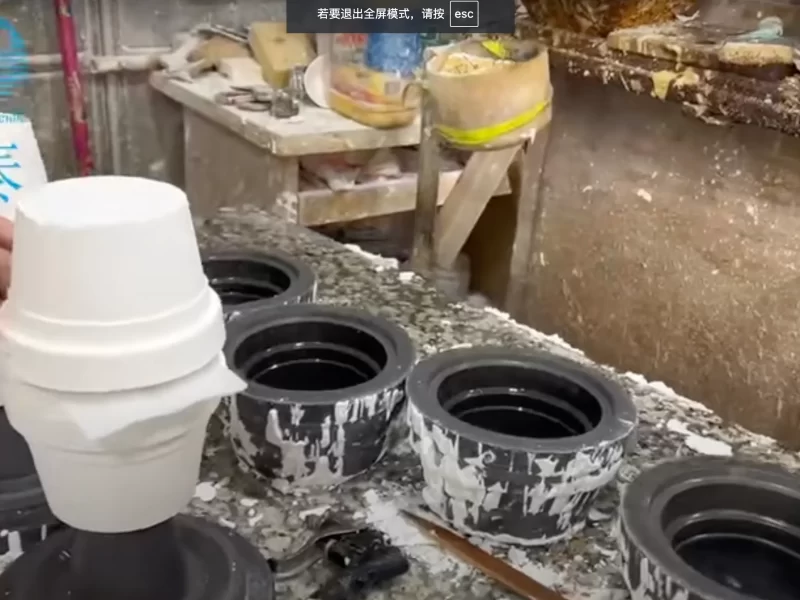
Making ceramic production molds involves several steps, and the process can vary depending on the specific type of mold you want to create (e.g., plaster, silicone, or metal molds). Below is a general guide to creating a ceramic mold, typically made from plaster, which is the most common material for molds used in ceramic production:
Design the Mold
Depending on the object you wish to cast, create a detailed design. This will determine the size, shape, and type of mold you will need.
If the mold is a simple shape, this may be a single mold; if the mold is more complex, a two-part mold may be required.
Prepare the Prototype Model
The prototype can be made from materials such as clay, plaster, wax, etc. and should be compatible with the mold material chosen.
If the prototype is made from clay, make sure it is completely dry before using it. If it is made from plaster or wax, it can be used directly in the mold making process.
For a two-part mold, make sure the model has a slight chamfer or taper to make it easier to remove from the mold.
Make the Mold Frame (If Using a Two-Part Mold)
Build a mold frame (a simple frame) around the prototype model. This frame will hold the mold material (such as plaster or silicone) and define the outer boundaries of the mold.
Make sure the frame is larger than the model to ensure that the mold material can completely surround the object.
If it is a two-part mold, you will need to make a separate frame for each half.
Apply a release agent
Before pouring the mold material, apply a release agent (such as paraffin or a commercial release agent) to the surface of the model. This ensures that the mold can be easily removed from the model after it hardens.
Mix and pour the mold material (such as plaster)
If using plaster as the mold material:
Mix the plaster with water according to the instructions, making sure the mixture is smooth and free of particles. Slowly pour the plaster onto the model to avoid creating bubbles. Start in one corner and let the plaster flow naturally over the surface of the object. If it is a two-part mold, first pour the plaster to cover half of the model and wait for it to solidify before removing the model from the plaster mold. Then, pour the plaster again to cover the other half and wait for it to solidify.
Allow the mold to cure
Allow the mold to cure completely. This usually takes a few hours to a day, depending on the size and thickness of the mold.
If it is a plaster mold, it is best to leave it in a well-ventilated area to dry to ensure that it is completely cured.
Remove the Prototype Model
Once the mold has cured, carefully remove the mold from the frame and gently separate the mold from the prototype, making sure not to damage the prototype.
If the prototype is made of clay or wax, it should be relatively easy to remove, leaving a negative impression of the object.
Clean and organize the mold
After removing the prototype, check the mold for flaws, bubbles, or areas that need to be trimmed.
Use a sharp tool or sandpaper to smooth the mold, making sure the details of the mold are intact.
Test the mold
Before formal production, it is best to test the mold with a small amount of clay or casting material.
This will help you find any areas that need adjustment, such as air holes, vents, or other problems that may affect the mold effect.
Start production
Once the mold has been tested and meets the requirements, you can start using it for ceramic production.
Our professional ceramic machinery products
If you need high-quality machinery and equipment for ceramic production, our company provides comprehensive ceramic machinery solutions, including ceramic mold production equipment, firing equipment, etc., designed to improve production efficiency and quality. Our company focuses on providing advanced ceramic machinery technology and high-quality products to customers around the world. Feel free to contact us for more information or technical support.